Hoverboards are among the coolest toys available in the world right now. They can also serve an exceptionally practical purpose as personal transporters. Whether you use your hoverboard simply for fun for commuting you’ll want to keep it in the best possible condition. Unfortunately, even the best hoverboards occasionally throw errors and issues into the mix. This article explains a brief about hoverboard problems and solutions and how to fix them?
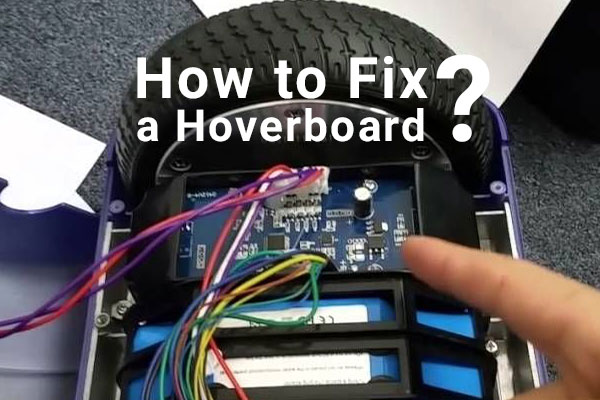
None of which are likely to occur for some time after purchasing a brand-new board, assuming you take decent care of it. Nevertheless, you may occasionally find yourself with one or more hoverboard repair or maintenance requirements to carry out. The good news is that in most instances, everyday issues regarding hoverboard repairs can be surprisingly simple.
How to Fix a Hoverboard?
There’s an important rule to follow when it comes to repairing and maintaining hoverboards in general:
Don’t make the mistake of overcomplicating things.
Though not always the case, it is often perfectly possible to solve any number of hoverboard issues simply by resetting the device. From flashing lights to clicking sounds to jammed boards that won’t turn on or off, what seems like a broken board could be fixed through the standard reset process. A process that, with most boards, is as simple as holding down the power button for several seconds until it blinks and indicates a successful reset.
Alternatively, disconnecting the charger and battery for 30 seconds or so can have the same effect. Long story short – it isn’t always necessary to organize a professional inspection and repair to fix a hoverboard that’s become uncooperative. Particularly when it comes to the most common types of hoverboard issues, which we’ll now be taking a closer look at:
How to Fix a Hoverboard with a Red Light Error
Both solid red lights and blinking red lights on a hoverboard indicate an issue. In accordance with how many times the red light flashes and how quickly, you’ll be able to identify the issue using the manufacturer’s instructions. For example, a solid red-light could indicate an issue with the circuit board, whereas a blinking red-light could indicate loose wires or cables.
Again, the manufacturer’s instructions will typically tell you what to do to address such issues. If in doubt, you can also look online to see what the flashing red-light indicates. Some issues with flashing red lights can be fixed by simply resetting the board. In other instances, it may be a case of tightening loose cables, replacing components, or fitting your board with a new motor or gyro entirely.
How to Fix a Hoverboard that Won’t Turn On
One of the most common issues of all is that of a hoverboard that simply will not turn on. Of course, the first thing to do in such instances is to ensure that it is fully charged. If the charging indicator light doesn’t illuminate when the board is plugged in, this suggests issues with its internal circuitry that will need to be examined by an expert.
A flashing orange light could also be an indication that the battery itself needs replacing. Some battery charging and powering-up issues can be rectified by disconnecting the charger and the battery for around 30 seconds before reconnecting them. There are also some instances where a standard reset can help. Always check that the charger is functioning properly, before further investigating your unresponsive board.
Check out our in-depth guide on How to fix a hoverboard that won’t turn on
How to Fix a Hoverboard that Got Wet
If your hoverboard got wet and lacks waterproofing, it could cause serious damage to its internal circuitry and components. However, you can minimize the amount of damage caused by ensuring your board is switched off the moment it gets wet. Under no circumstances should you attempt to ride or even switch on a board you suspect has water inside. To do so could cause it to dangerously short circuits.
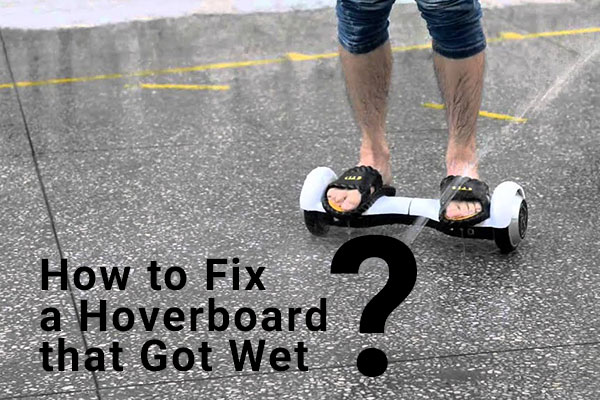
Use a clean cloth or towel to dry your board to the best of your ability and remove the battery it safe to do so. Put your board in a warm and dry place, giving it as long as it needs to dry fully. Just as long as your board is not powered up while wet, there’s a good chance it will work when it is dry. If not, you’ll need to have it inspected and tested by an expert.
How to Fix a Hoverboard that Won’t Turn Off
If your hoverboard won’t turn off, the first thing to do is try to reset it in accordance with your manufacturer’s instructions. If this doesn’t work, the only thing you can do is remove the cover and carefully disconnect the battery. This is guaranteed to switch the board off, as it will no longer have a power supply.
After around 30 seconds, reconnect the battery carefully in a safe environment. Just in case your hoverboard that was not turning off decides to burst into action, and you’ll want to ensure there are a few obstacles and hazards as possible.
How to Fix One Side of a Hoverboard not Working
One side of a hoverboard not working can be frustrating, to say the least. This is an issue that indicates a faulty gyroscope, or a simple error that can be fixed with a reset. If resetting your board doesnot work and there’s a blinking light to indicate a gyroscope issue, you will need to replace the gyroscope.
Thankfully, it’s a surprisingly simple process that involves disconnecting the current component and slotting a new gyroscope in place. Just ensure that you purchase the appropriate gyroscope component for your exact make and model of scooter. Extensively check compatibility online before placing your order.
How to Fix Hoverboard Scratches
As for how to fix hoverboard scratches, it’s entirely up to you how far you go to keep your board looking pristine. Some simply reach for a reasonably well-matched magic marker to cover scratches and scuffs, but this doesn’t usually make for immaculate results. If you really want to fix your board’s scratches and have it looking good as new, you’ll need to start from scratch with some sandpaper, primer, and spray paint.
It’s not the most difficult of jobs, but one but nonetheless means removing the outer shell, sanding the surface, priming it, and painting it once again. All in an appropriate outdoor location with plenty of ventilation. In some instances, it could be easier to simply by a new exterior shell for your board. Or perhaps, cover it in stickers and decals for a more personal look.
How to Fix Hoverboard Charging Problems
Hoverboard charging problems are also common, but can usually be identified and addressed relatively easily. The number one rule is to ensure you only ever use the official charger that came with your board, or one that has been specifically approved by its manufacturer. In addition, your board will feature charging lights and various other warning lights to indicate when and where there is an issue.
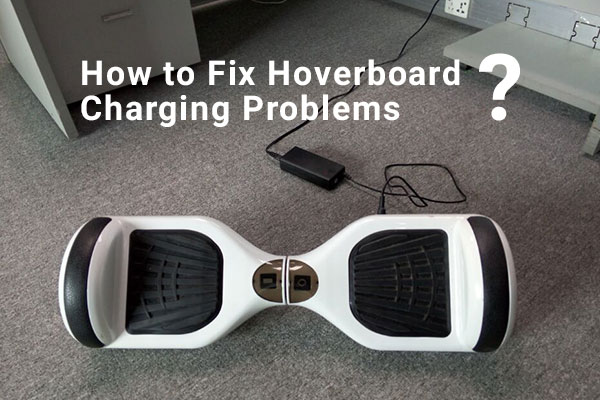
If your board shows a red light while charging, this simply means it isn’t fully charged. Give it a couple of hours, and it should turn to green when the battery is full. In the event that the light turns green, but your board still doesn’t work, this could indicate an issue with a faulty battery or loose cables under the hood. Should you see no indicator lights at all when you plug your board in, this could be an issue with the battery or the charger itself.
Try another charger to see if this solves the issue or another power outlet. Many battery issues can be solved simply by disconnecting the battery and reconnecting it after around 30 seconds. If this still doesnot work, there may be an issue with your battery or charger that warrants further investigation and/or replacement.
How to Fix Hoverboard Sensor Errors
Last but not least, there’s no quick or easy way to fix hoverboard sensor issues. Depending on the nature and severity of the problem, it’s usually a case of purchasing replacement kits and following the instructions provided to install them.
Again, it’s always worth attempting to reset your board the normal way if the balance sensors stop working at any time. Simply performing a factory reset can resolve the vast majority of basic sensor-related issues, though more severe errors make a call for component replacements.
In Summary
Across the board, no pun intended…it is essential that you first consult the manufacturer’s guidelines before attempt ng any repairs or component replacements. If necessary, you can always contact the brand’s customer service helpline for more information. Under no circumstances should you attempt to disassemble, repair, or replace any components if you are not confident in your capabilities.
You run the risk of electric shock, fire, or even explosion if you attempt anything that contravenes the manufacturer’s guidelines. And of course, the importance of ensuring your board is disconnected from its charger and powered down before attempting any repairs is self-explanatory.
Tips to Maintain a Hoverboard
Learning how to maintain a hoverboard isn’t quite as difficult as you might expect. In fact, the basics of hoverboard maintenance are simple enough for just about anyone to grasp. As with most things, hoverboard maintenance is all about protecting your investment.
Take care of your hoverboard appropriately, and it will take care of your long-term. Even if you aren’t particularly savvy when it comes to technology, you’ll have no trouble keeping your board in order. It’s simply a case of taking a proactive approach to hoverboard maintenance.
That is, as opposed to rather waiting for issues to occur and then addressing them. With this in mind, we’ll now be taking a look at the basics of hoverboard maintenance. Each of these should be detailed in the manufacturer’s guidelines that came with the board, so read them carefully.
How to Clean a Hoverboard
Cleaning a hoverboard isn’t the most exciting aspect of hoverboard ownership. Nevertheless, it’s easier to give your board a quick wipe than to allow it to get damaged. Cleaning the main shell of a hoverboard is as easy as taking to it with a damp cloth. After which, simply use a dry towel or soft cloth to remove excess moisture.
A soft toothbrush is ideal for removing dirt and debris from the wheels. As the wheels and tires run inside the casing, they can deposit dirt and debris out of sight. All of which can accumulate and cause internal issues, if left unaddressed. The best way of preventing this from happening is to keep your wheels and tires clean. Giving them a good brush and wipe after every use is usually enough.
How to Maintain a Hoverboard Battery
Battery maintenance is also a case of basic common sense and following manufacturer’s instructions. Most cutting-edge lithium-ion batteries these days don’t suffer from ‘memory’ issues. In which case, it isn’t always necessary to charge the battery to 100% before using it. Recommended, perhaps, but not always mandatory.
Always check your battery before each ride and ensure it has enough juice. Only ever use the official charger that was supplied with the board itself. If not, then an approved replacement from the same manufacturer. Charge your hoverboard in a safe and dry place at comfortable room temperature. If the board or the battery charger seems to be overheating, remove it from the mains immediately and allow it to cool.
You can also extend the life of your hoverboard battery by following the manufacturer’s recommended weight limits. Further still by being mindful of the types of surfaces you ride on. Extreme hot and cold temperatures can also affect a hoverboard battery, so you might want to consider the conditions outdoors.
How to Maintain Hoverboard Wheels?
As mentioned, the key to maintaining hoverboard wheels lies in giving them a decent clean after each use. The longer you leave dirt and debris unaddressed, the more difficult it becomes to remove. Arm yourself with a soft toothbrush, a decent cloth, and some mild detergent to keep your wheels and tires clean.
Eight Golden Rules of Hoverboard Maintenance
Realistically, there are only eight things you need to do keep your hoverboard in excellent condition. Take care of the following, and the rest (for the most part) takes care of itself:
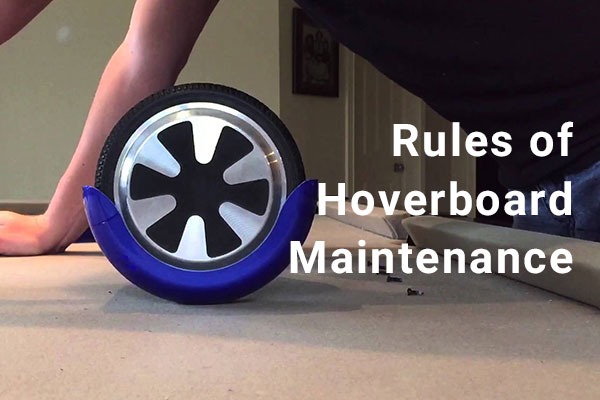
Clean the Wheels Regularly
Protect the internal components of your board from excessive dirt and debris build-up, by keeping your wheels and tires clean.
Don’t Let It Sit Dead
It’s inadvisable to leave any self-balancing scooter discharged for an extensive period of time. If you don’t intend to use your hoverboard for several weeks, ensure there is a decent amount of juice in the battery.
Check the Wiring
If confident enough, it can be useful to periodically remove the shell of your board and check its wiring. This is simply a routine maintenance check to ensure that nothing is loose, frayed, or damaged. All of which could lead to more severe problems if left unaddressed.
Keep Your Board Clean
The greater the extent to which you keep your board clean, the less likely it is to cause you problems. Particularly where its electronic components and connectors are concerned, a clean hoverboard is indeed a happy hoverboard.
Keep It Cool
Self-balancing scooters have a habit of getting pretty hot – something that’s worth keeping an eye on if using yours continuously. Once again, you might also want to think twice about using your board in extremely hot weather. That is, unless the manufacturer says it is safe to do so.
Check That the Pedals Work Properly
If you detect issues with the pedals or the accuracy with which your board is balanced, don’t ignore them. Again, it may be possible to fix the issue with something as simple as a reset. Never risk your health and safety on an unbalanced board.
Expert Advice
If there is anything you cannot confidently handle, it’s essential that you seek expert advice as soon as possible. The last thing you want to do is make things worse than they already are. Or, worse still, put yourself in danger by attempting to fix something you don’t understand.
Store it Properly
Last up, it’s also important to ensure that your board is looked after when not in use. This means storing it in a cool, dry, and safe location, with minimal moisture and good ventilation. When storing it long term, take it out every few weeks and run it for a few minutes. This will help keep it in good working order.


The charger has a green light on it until we plug it in, then it turns red. When the board is charged, the charger turns green. The batter light on the board flashes yellow until I unplug it (after the charger light turns green). Then we turn the board on and the battery indicator on the board turns green. She can get on it and go for about a minute (down the driveway) and then it starts beeping and the battery indicator on the board turns yellow. We turn it off and back on and the battery turns green again and she can use it again for a minute or so. We took it apart and the battery (when put on the tester) seemed to have a charge. The company that makes them has not responded. I can’t seem to find a replacement battery or charger and don’t want to spend $50-80 to replace if not needed. Any ideas?
Try another charger to see if this solves the issue or another power outlet.